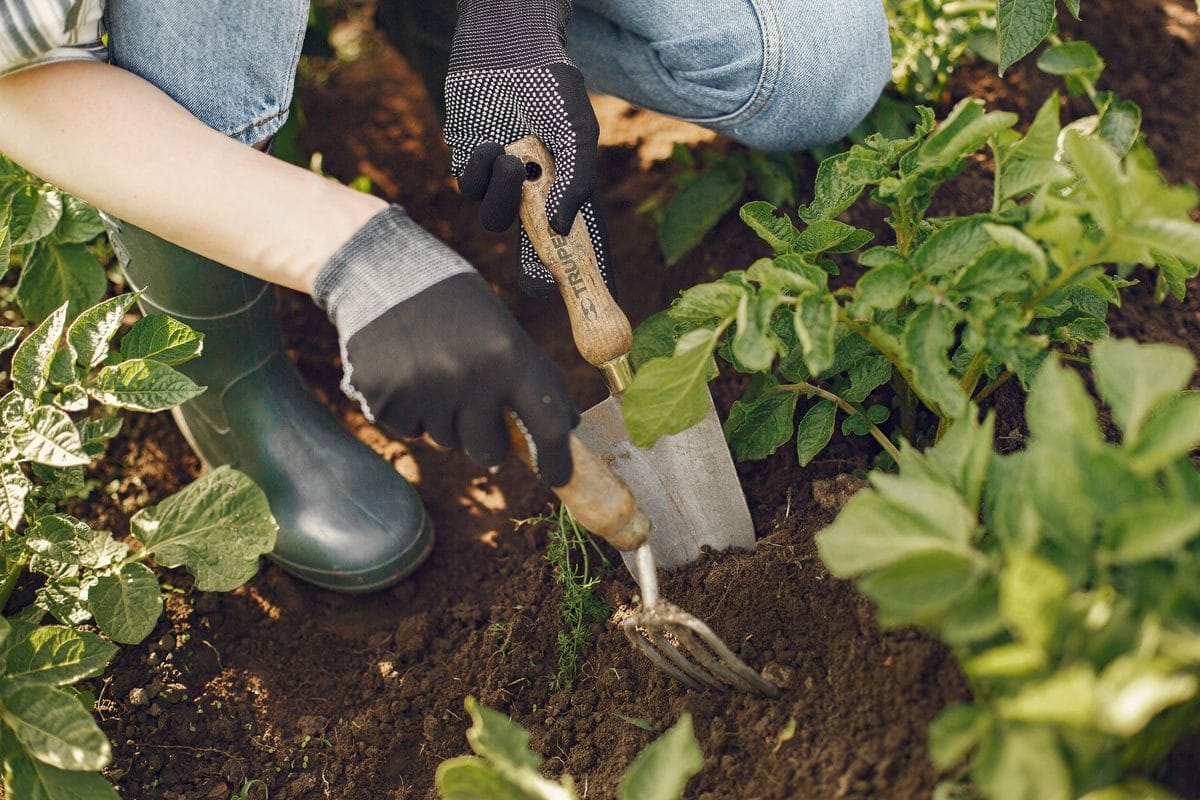
The digging fork went in at a slight angle, the way it always should, and the first potato came up scarred with two clean fork holes straight through the middle — a decent-sized King Edward, ruined for storage in half a second. That's the risk every year around now, when the foliage on a maincrop bed has finally collapsed and the only question left is how many more days you can leave the tubers in the ground before slugs, a wet spell or the first proper frost get to them ahead of you.
Why the Last Week of September Changes Everything
Maincrop varieties — Maris Piper, King Edward, Desiree, Cara, Picasso — go into the ground in April and are bred to bulk up slowly right through summer, which is exactly why they're still sitting there in late September while the earlies and second earlies came out weeks ago. The trigger for lifting isn't a date on a calendar; it's the foliage. Once the haulm (the leafy top-growth) has yellowed, flopped over and mostly died back, the tubers have stopped putting on size and the skins have started to set — the thin, easily-scuffed skin of a summer potato thickens into the tougher storage skin you actually want. Lift too early, while the tops are still green, and you get a smaller crop with skin that bruises if you look at it wrong. Lift too late and you're racing frost, slug damage and increasingly waterlogged soil that makes forking a genuine slog. It's also worth knowing that not every variety keeps equally well once it's out of the ground: Cara and Desiree will comfortably sit in a dark shed until March or April, King Edward is good for a solid three or four months, and Maris Piper — brilliant for roasting — starts to soften and sprout noticeably earlier than either. Plan which sack gets eaten first around what you actually grew, not around a single generic "potatoes keep for months" assumption.
Regional timing matters more than most guides admit. Gardeners in Scotland, the Pennines and anywhere that regularly sees ground frost by early-to-mid October don't have much slack left — get maincrops out this week if the foliage has died back. Southern England and London usually buy another two to three weeks before the first proper frost, but that's not licence to leave everything in the ground until November; slugs, wireworm and blight spores washed down from dying foliage all do more damage the longer tubers sit wet in the ground.
Reading the Foliage Before a Fork Goes Anywhere Near the Row
If the haulm is still green and upright, leave it. If it's collapsed, yellow-brown and starting to smell faintly of rot, that's your signal — and it's also the point at which you should cut the foliage right down to soil level with shears or a strimmer, rather than pulling it, and leave the tubers underground for another ten to fourteen days if you can spare them. This does two things: it lets the skins finish setting, and it puts distance between any blight spores sitting on the dead foliage and the tubers themselves, since blight travels down through wet stems into the crop far more easily than most people realise. Cut the tops off, bag them for the council green bin rather than the compost heap, and only then start lifting.
Watch for blackened, collapsing stems earlier in the season, before the natural die-back — that's usually blight, and if you see it, the advice changes completely. Lift everything within a few days regardless of tuber size, because every extra day in wet soil lets spores wash down and infect tubers that were otherwise perfectly healthy.
The Lifting Technique That Doesn't Turn Half the Crop into Soup
A digging fork with broad, flattened tines — something like a Spear & Jackson or Wilkinson Sword border fork, typically £25–£40 from Wickes or Toolstation — does far less damage than a spade, because the tines slide between tubers instead of slicing through them. Push the fork in at least 30cm out from where you think the row sits, angled away from the plant, not straight down through the middle of it. Most of the spiked-tuber damage people blame on bad luck is actually just the fork going in too close.
Work each plant from two sides, lever gently, and then go over the loosened soil by hand — this is the part most people skip, and it's the part that actually recovers the crop. Maincrop plants throw tubers out sideways as well as straight down, sometimes 20–30cm from the main stem, and a fork lift alone leaves a fair few of them behind in the soil, where they'll either rot or sprout as unwanted volunteers next spring. Go through with your hands once the fork's done its pass, working outward in a rough circle rather than just checking directly under where the plant stood. You'll find more than you expect, especially at the edges where the tines never quite reach.
Curing on the Soil, Not in the Kitchen
Don't wash them.
This is the single most common mistake with home-grown potatoes destined for storage — a warm kitchen sink feels like the tidy, sensible thing to do, and it's the fastest way to shorten how long the crop lasts. Washing strips the natural soil coating that protects the skin and introduces moisture exactly where you don't want it, and damp skin is precisely what lets bacterial soft rot get a foothold once tubers are packed close together in a sack. Brush off the loose, dry soil with a hand or a soft brush and leave the rest; a light dusting of dry soil does no harm at all and actually helps keep light off the skin later in storage. Save any washing for the moment you're about to cook them, not the moment you bring them in from the plot. It sounds like an extra chore skipped, but it's really the opposite — one dry-brush pass now saves you sorting through a sack of soft, sweating potatoes in November. Skip it and you're gambling the whole store on however dry that particular Tuesday happened to be.
Lay the lifted tubers out on the soil surface, in a single layer, for two to three hours on a dry day — long enough for the skins to dry and toughen slightly, not so long that light gets at them and starts turning them green (green potatoes contain solanine and shouldn't be eaten, so anything that's coloured up needs to go straight in the bin, not the store). If rain's forecast, do this under cover in a shed or garage instead; a tarpaulin over a trestle table works just as well as anything purpose-built.
What's Worth Storing and What Goes in the Pan This Week
Sort as you go, because mixing damaged tubers in with sound ones is how a whole sack goes soft by December. Three piles work well in practice:
- Perfect, dry-skinned tubers with no fork marks, cuts, slug holes or scab — these go into long-term storage.
- Anything nicked, forked or slightly scabbed but otherwise firm — use within the next fortnight rather than storing it, because a damaged skin is an open door for rot to spread through the rest of the sack.
- Anything soft, hollow, blackened at the eyes, or showing the reddish-brown staining that marks blight damage under the skin doesn't go anywhere near the kitchen. Bin it, and check the tubers next to it in the sack again in a week, because rot spreads.
Charlotte and other salad varieties are a different story entirely — they're bred for eating fresh, not for six months in a sack, and they'll go soft and sweet-tasting well before Christmas even in good conditions. If that's what you've got in the ground, treat it as a use-it-up-over-autumn crop rather than a winter store, and don't be surprised when it doesn't behave like a King Edward.
Setting Up Storage That Actually Gets You to March
Potatoes want dark, cool — ideally 7–10°C — and enough ventilation that condensation doesn't build up inside the container, but not so much airflow that they dry out and shrivel. Hessian sacks (around £2–£3 each from most garden centres and B&Q, or a fiver for a pack of five online) are the standard for good reason: they breathe, they block light completely once folded over, and they're heavy enough to stack in a shed without collapsing.
Cardboard boxes lined with a few sheets of newspaper are a perfectly good alternative if you're not buying anything new, and old potato sacks from a farm shop cost nothing at all. What doesn't work is a sealed plastic bag or box — that traps moisture, and moist, dark, cool is exactly the environment rot organisms want. A garage or shed that stays frost-free is ideal; anywhere that regularly drops below freezing will turn stored tubers to mush the moment they thaw, so a cold outbuilding needs an old blanket or a layer of straw bales around the sacks once the weather properly turns in November.
Check the store once a month through winter, not once and forget it. Pull out anything that's gone soft or started sprouting eyes, because one rotting potato in a sack genuinely does spoil the ones around it — the smell alone will tell you which sack needs sorting before you even open it.
The Real Cost of Getting This Wrong
Seed potatoes for a decent-sized maincrop bed run roughly £6–£9 a kilogram from a garden centre or online seed supplier, and a typical allotment-sized row of thirty plants can produce 30–45kg of tubers if the season's been kind — which, after a summer that saw a fair few gardens under a hosepipe ban and patchy, inconsistent watering, might mean smaller tubers than usual this year rather than fewer plants. Buy that same weight of potatoes through the winter at supermarket prices and you're looking at £30–£50 depending on variety, so a maincrop bed that's lifted, cured and stored properly is genuinely one of the better returns on a vegetable patch — assuming it doesn't rot in the sack by January, which is exactly what happens to a store that's been rushed, washed, or packed away damp.
Skip the temptation to lift everything in one afternoon just to get the job done. Two shorter sessions on dry days beat one long one on a damp Saturday, and the crop that goes into storage properly cured is the crop that's still worth eating at Easter.