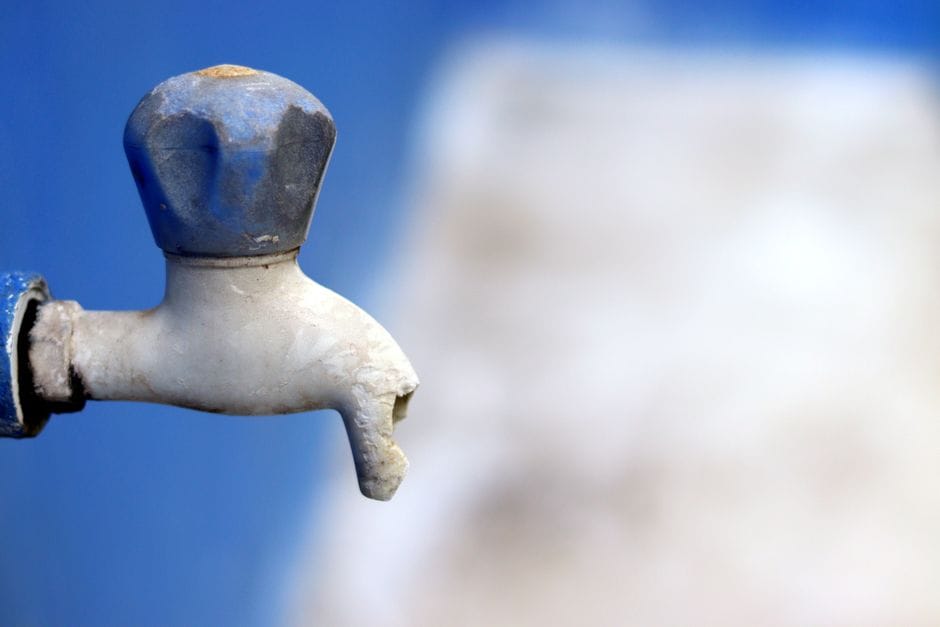
A dripping tap wastes a surprising amount of water and, worse, keeps you awake with that maddening plink in the small hours. It is one of the most satisfying small repairs to do yourself, and the parts cost pennies.
Turn off the water
This is the step nobody should skip. Find the isolating valve under the basin or sink and turn it off, or shut the main stopcock. Then open the tap fully to drain it and pop the plug in so nothing small disappears down the hole.
Get inside the tap
Older taps with separate hot and cold handles usually have a rubber washer that has worn out. Single-lever mixers more often have a ceramic cartridge instead.
- Prise off the decorative cap on top of the handle.
- Undo the screw beneath and lift the handle away.
- Unscrew the headgear with a spanner to reach the washer.
Replace the worn part
Take the old washer or cartridge to the shop to match it exactly, since sizes vary. Fit the new part, smear a little plumber's grease on the thread, and reassemble in reverse order, taking care not to overtighten and crack anything.
Test gently
Turn the water back on slowly and check for leaks, then run the tap and watch for that telltale drip. If it still weeps slightly, the seat the washer presses on may be scored; a cheap reseating tool sorts it. Most of the time, a fresh washer is all it takes.