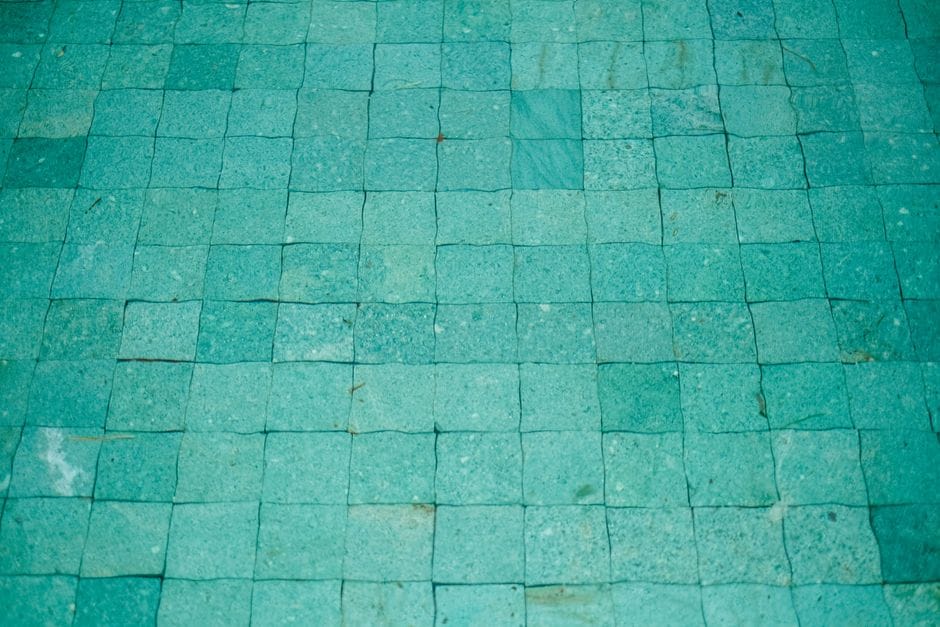
A tiled splashback behind the hob or sink is one of the most satisfying DIY upgrades a kitchen can have, and a small run is very doable for a first-timer. The trick to a neat result is all in the setting out before any tile touches the wall.
Plan the layout dry
Lay the tiles out on the worktop first to see how they fall, and work out where the cut tiles will go. Aim to keep the cuts at the ends and any awkward slivers out of the eyeline, with full tiles front and centre.
Set a level base line
Never trust the worktop to be level. Mark a true horizontal line with a spirit level and, if there is a gap to bridge, pin a temporary batten to tile up from, so the whole job stays square.
- Spread adhesive on the wall with a notched trowel.
- Press tiles on with a slight twist, using spacers at every joint.
- Check the level every few tiles, not just at the end.
Cutting in
A simple scoring tile cutter handles straight cuts for the edges, while a tile saw or nibblers deal with cut-outs around sockets. Measure each cut individually, as walls are rarely perfectly square and a single fixed measurement will drift.
Grouting the joints
Leave the adhesive to set overnight, then work grout into the joints with a rubber float, wiping the excess off the faces before it hardens. Polish off the haze with a dry cloth once it has gone off, and a tube of sealant along the worktop joint finishes it.